How to Pendulum Paint: A DIY Guide for Creative Fun
If you’ve ever seen The Princess Diaries—you know, that scene where Mia and her mom throw darts at paint-filled balloons? Well, this is your moment to be the artist! (Sorry, no princess tiara today).
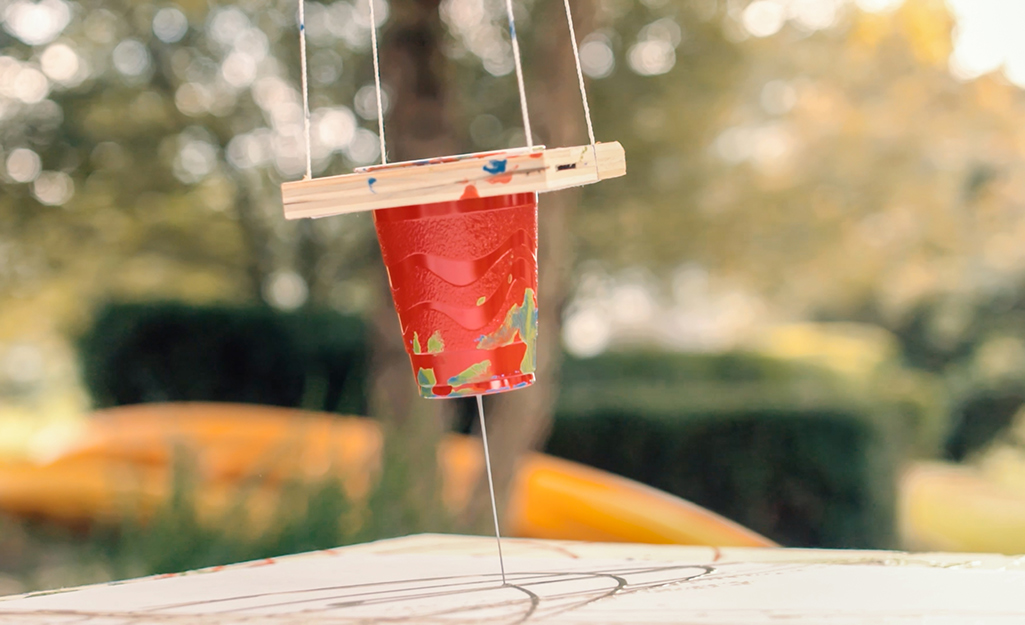
Wondering what pendulum art is? It’s simple! You fill a swinging pendulum (basically a cup with a hole in it) with paint, set it in motion, and let gravity do the rest. As the pendulum swings, it drips paint onto the canvas below, creating mesmerizing, swirling designs.
Curious? Keep reading to learn how to do pendulum art!

How To Make Pendulum Art at Home?
If you’re wondering how to build a paint pendulum, it’s easier than you think! You can create stunning, swirling designs using gravity and motion with just a few simple materials.
Materials You’ll Need
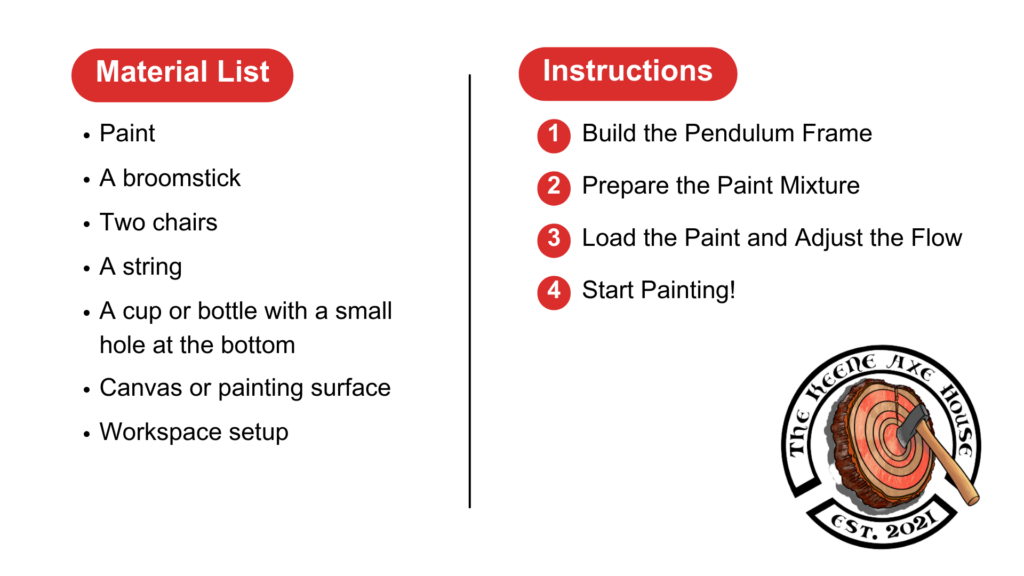
 Paint (choose fluid acrylics, high-flow acrylics, or pre-mixed pouring paint for the best results).
A broomstick
Two chairs
A string
A cup or bottle with a small hole at the bottom
Canvas or painting surface
Workspace setup (use floor coverings, an apron or old clothes, and paper towels to keep things clean)
 Optional (try glow-in-the-dark or metallic paints for unique effects)
 Take your experience to the next level—explore our pendulum painting room!
Step-by-Step Instructions
1. Build the Pendulum Frame
Place a broomstick between two chairs to create a stable frame. Attach a string to the broomstick and secure a cup or bottle with a small hole at the bottom so it hangs freely.

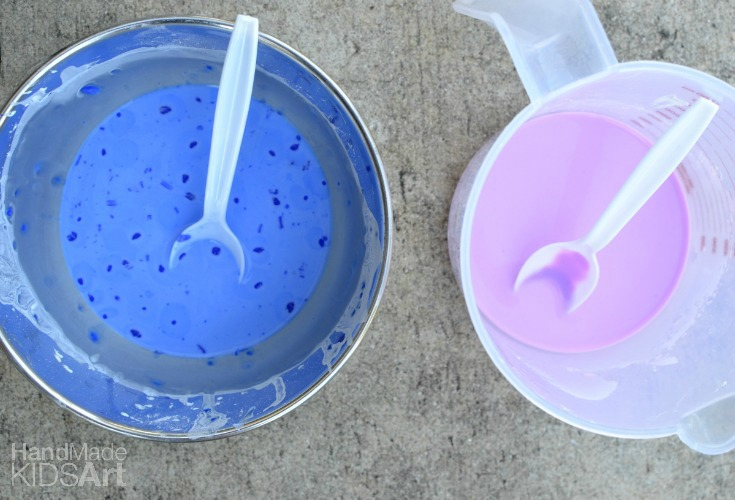
2. Prepare the Paint Mixture
Mix acrylic paint with water until it reaches a smooth, flowing consistency.
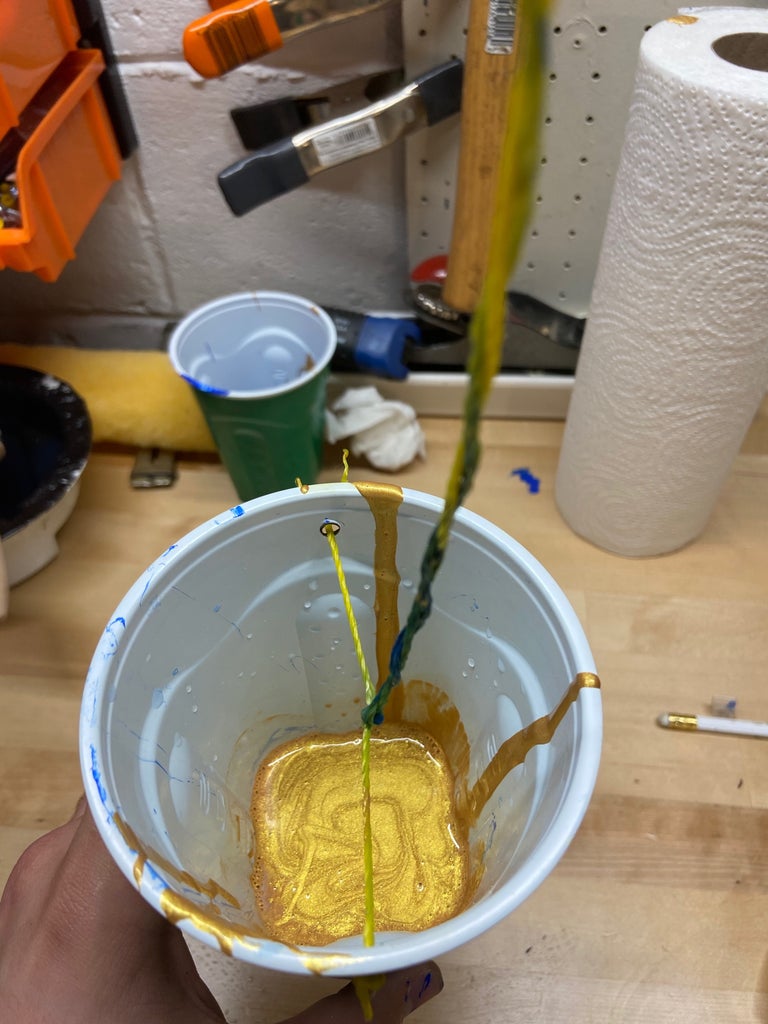
3. Load the Paint and Adjust the Flow
Fill the cup, test the flow, and adjust the hole size if needed.
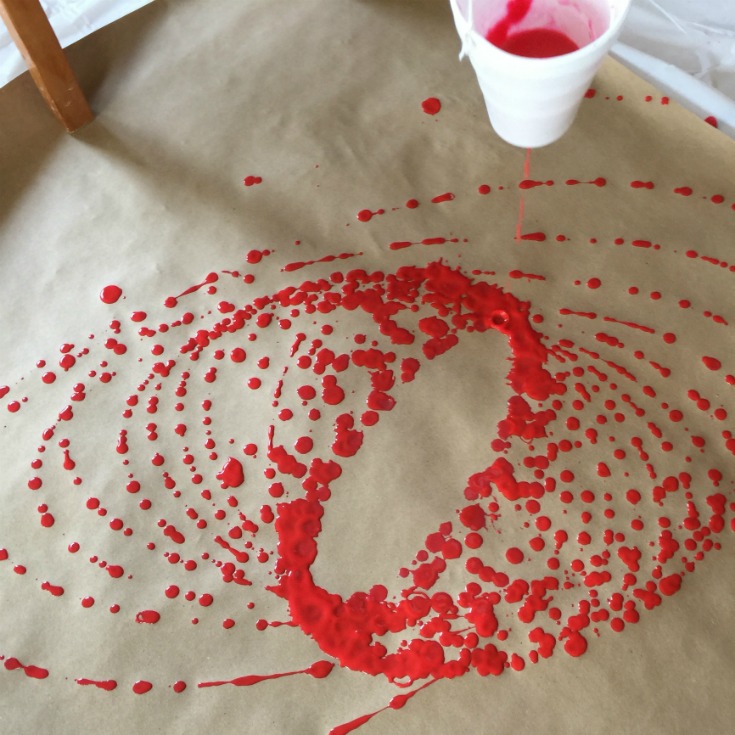
4. Start Painting!
Release the pendulum and experiment with different swing patterns to create mesmerizing designs.
5. Drying and Finishing Touches
Let your artwork dry completely, then seal it with clear acrylic spray or resin. Frame it if you’d like to display your masterpiece!
Common DIY Mistakes and How to Fix Them
Ready to dive into diy pendulum art? Well, before you get lost in a sea of swirling colors, let’s talk about some common mistakes and how to fix them. Trust me, we’ve all been there, but it’s all part of the creative chaos!
Using paint that’s too thick or too runny
If your paint’s too thick, it won’t drip properly. Too runny? You’ve got a mess. Aim for a consistency like heavy cream—dense enough to hold shape but flowy to drip. Add water if it’s too thick or more paint if it’s too runny.
Setting up an unstable pendulum frame
If your frame wobbles, so will your paint. Make sure your broomstick is stable between two chairs and the string is tied tightly. No wobbles allowed!
Not adjusting the paint flow properly
If the paint’s pouring too fast, it’s a mess. Too slow, and it’s a snore fest. Test the flow and adjust the hole size for the perfect drip!
Swinging the pendulum incorrectly
Swinging too hard will make things go everywhere. Swing it gently and try different directions to get the perfect pattern.
Skipping surface preparation and cleanup
Don’t skip the prep! Lay down a covering and clean up right after. You’ll thank me later when your floor isn’t a paint disaster.
Why Visit a Specialized Pendulum Painting Room?
Access to high-quality materials and specialized pendulum rigs
No mess at home – hassle-free creative experience
Expert guidance for stunning results
Unique lighting and ambiance for a fully immersive experience
 Plus, if you’re looking to take your creativity to the next level, why not check out the Paint Splatter Room at The Keene Axe House? Unleash your inner artist in a whole new way with even more exciting splatter art fun!
DIY vs. Studio: Which Pendulum Painting Experience is Best for You?
| Feature | DIY at Home | Studio Experience |
| Cost | Lower upfront investment | Paid session, but all materials included |
| Mess Factor | High – requires cleanup | No mess, all handled by staff |
| Learning Curve | Trial and error | Expert guidance provided |
| Equipment Quality | Homemade setup | Professional-grade pendulums |
| Social Experience | Solo or with friends | Group events & workshops |
Experience Pendulum Painting Like Never Before – Book Your Session Now!
Ready to try pendulum art in a way you’ve never imagined? Head to The Keene Axe House and book your pendulum painting session today! It’s the perfect mix of creativity, fun, and chaos, all in one incredible experience.
FAQs
What do you need for pendulum painting?
You’ll need a stable frame (like a broomstick and two chairs), string, a cup or bottle with a small hole at the bottom, paint, a canvas, and a protected workspace.
What paint is best for pendulum painting?
Fluid acrylics, high-flow acrylics, or pre-mixed pouring paints work best. These types are designed to flow smoothly, making them perfect for creating those awesome swirling patterns.
What is the ratio of water to paint for pendulum painting?
Mix about 1 part water to 2 parts paint for the right consistency. It should be smooth and flow easily but not too watery. Experiment until you find the sweet spot!
How much paint do I need for pendulum painting?
The amount varies depending on the size of your canvas and the number of swings you want, but generally, 1-2 cups of paint should be enough for a typical session.
How big of a hole for pendulum painting?
Start with a small hole (around 1/8 inch) and adjust based on the paint flow. You can always make it bigger if the paint isn’t dripping fast enough, but smaller holes create more controlled designs